Summary of frequently asked questions
-
What is an inflatable tent?
An inflatable tent is a type of tent that uses air to inflate in order to create a tent structure. Instead of using traditional tent poles or frames to support the tent structure, inflatable tents use an internal inflatable device to provide support, as compared to traditional tents.
Inflatable tents are usually made of durable, waterproof materials such as polyester or nylon. The structure of the tent consists of air chambers that are filled with air via an air pump or manual inflation device, allowing the tent to gradually expand and form a stable structure. Once inflation is complete, the tent is ready for use.
Inflatable tents offer a number of advantages. First, they are relatively lightweight and easy to carry, as they do not require traditional tent poles or frames. Secondly, inflatable tents are usually quicker to set up than traditional tents and can be inflated in just a few minutes. In addition, inflatable tents usually have better stability and wind resistance in windy conditions.
Inflatable tents are widely used for camping, outdoor events, open-air exhibitions and emergency shelter. They offer a convenient and fast option for setting up tents and are comparable to traditional tents in terms of comfort and water resistance. -
Difference between inflatable tents and other tents?
Support structure: Inflatable tents use internal inflatables to build the structure of the tent, whereas traditional tents usually use tent poles or frames. Inflatable tents do not require additional poles or frames for support, making them easier and faster to erect.
Speed: Inflatable tents are usually faster to set up due to the use of an inflatable unit. Simply inflating the tent through the inflatable unit saves a lot of time and effort compared to assembling a traditional tent.
Portability: Inflatable tents are usually relatively lightweight and easy to carry because they do not require traditional tent poles or frames. They can be folded into smaller sizes to fit easily into a backpack or vehicle.
Stability: The stability of an inflatable tent depends on the design of the inflatable unit and the structure of the tent itself. When properly inflated and secured, inflatable tents usually have good stability and wind resistance.
Maintenance and Repair: Inflatable tents differ from traditional tents in terms of maintenance and repair. In the event of a breakage or air leak, repairing an inflatable tent may require specific repair materials and techniques, whereas a traditional tent can be repaired more easily. -
Advantages of inflatable tents.
FAST SET-UP: Inflatable tents are much faster to set up than traditional tents. Simply inflate the air chambers through the inflator and it usually takes only a few minutes to set up, eliminating the time and complexity required to assemble a traditional tent.
Portability: Inflatable tents are typically lighter and easier to carry than traditional tents. Since they do not require poles or frames, inflatable tents can be folded down to a smaller size to fit easily into a backpack or vehicle, making them ideal for camping and outdoor activities.
STABILITY: Inflatable tents form a sturdy structure when inflated that provides good stability. The air chamber structure of inflatable tents can effectively disperse the effects of wind, making them show good wind resistance in windy conditions.
Comfort: Inflatable tents usually offer a large interior space and a comfortable living environment. The air chamber structure eliminates the internal space limitations that may be caused by poles or frames in traditional tents, allowing inflatable tents to provide a more spacious and comfortable accommodation experience.
Versatility: Inflatable tents are suitable for a variety of outdoor activities such as camping, hiking, and music festivals. They are also often used as emergency shelters or temporary facilities for open-air exhibitions. The versatility of inflatable tents makes them a practical choice for a variety of occasions. -
Advantages of cooling fabrics.
Advantages of cooling fabrics.
-
Advantages of thermostatic fabrics.
Main Features: rainproof, heat preservation, sunscreen, wear-resistant, scratch-resistant, tear-resistant, anti-bacterial and mildew-resistant, high and low temperature-resistant, aging-resistant, fire-resistant.
Description:
1, industry-leading, exclusive research and development of polymer nano-film insulation technology fabric.
2、Color fastness to sunlight level 4, belonging to the industry leading level.
3, seawater salt color fastness level 4, belongs to the industry leading level.
4、Resistant to breakage. Professional testing, fracture resistance: warp ≥ 2000N, weft ≥ 1800N.
5, abrasion resistance up to 10000 times without damage. Flexing resistance up to 100000 times without damage.
6, water staining / anti-oil stains: ≥ 5 level, belongs to the industry leading level
7, after professional laboratory testing, mold performance can reach 95%, in line with the industry's highest level 0 level of mold standards
8, high and low temperature resistance, low temperature can reach -35 ℃, high temperature can reach 80 ℃, can still be used normally
9、Rainproof no seepage no infiltration, not hanging beads, waterproof level: tent body PU: 2500 + bottom of the tent: 3500 + belongs to the industry's leading level. -
How should an inflatable tent be set up?
1. Unpack the tent: unpack the inflatable tent and make sure all the components, accessories and instructions are complete.
2. Find a suitable site: Choose a flat site without sharp objects and obstacles to set up the tent. Clear the ground of debris and make sure there are no sharp stones or branches at the bottom of the tent.
3. Unfold the tent: unfold the inflatable tent and make sure that the connectors on the top and bottom parts of the tent are facing the right direction. Depending on the design of the tent, some tents may require a ground cloth or mat to be laid first.
4. Locate the Inflatable Port: Locate the inflatable port on the tent, usually one or more pockets on the side or top of the tent.
5. Connect the inflator: Connect the inflator (usually a pump) to the inflation port. Make sure the connection is tight and follow the instructions for the inflator.
6. Inflate: To begin inflating the tent, use the inflation device to fill the tent with air. Depending on the size of the tent and the type of inflator, it may take a few minutes to complete the inflation. Be careful to control the speed of inflation to avoid over-inflation which may cause deformation or breakage of the tent.
7. Ensure Stability: Ensure that the structure of the tent remains balanced and stable during the inflation process. If the tent is equipped with support poles or rope systems, make sure they are properly connected and fastened.
8. Secure the tent: Once the tent has been inflated, use the fixing points on the tent (e.g. ropes, rivets or hooks) to secure the tent to the ground. Make sure all fixing points are securely fastened to prevent the tent from being blown away by the wind.
9. Perfect the details: Check all parts of the tent to make sure zippers, doors, windows, internal partitions, etc. are functioning properly. Adjust and install the accessories of the tent, such as anti-mosquito nets, awnings, etc., as needed. -
How should I store my inflatable tent?
1. Cleaning the tent: Clean the inflatable tent carefully before storing it. Remove dust, debris and moisture from the tent. You can use a soft brush or damp cloth to clean the inside and outside surfaces of the tent to make sure they are clean and dry.
2. Deflate: Open the tent's inflation port and slowly exhaust the air inside the tent. Depending on the design of the tent, you may need to press or twist specific switches or valves to release the air. Make sure the tent is completely deflated.
3. Folding the tent: Depending on the shape of the tent and how it is folded, follow the product instructions or manufacturer's recommendations. Generally, start folding from one corner of the tent and gradually fold it into a compact rectangle or circle. Make sure the tent will not be damaged or twisted during folding.
4. Storage bag: Put the folded inflatable tent into the matching storage bag. If you do not have a storage bag, you can use a dry, breathable bag or container to store your tent. Make sure the bag or container is dry and large enough to hold the entire tent.
5. ACCESSORIES STORAGE: Store inflatable tent accessories such as inflators, ropes and poles with the tent. Keep them in the same storage bag or container so you can easily find them the next time you use the tent.
6. Storage environment: Choose a dry and ventilated place to store the inflatable tent, avoid direct sunlight. Avoid moisture, heat or cold to prevent mold, deformation or damage. -
How should the canopy be built?
1. Find a suitable site: Choose a flat, open area to set up the canopy. Make sure there are no sharp objects and obstacles around to avoid damaging the canopy or causing safety risks.
2. Prepare materials: Make sure you have all the materials and tools you need, including the canopy, support poles, ropes, rivets and anchors.
3. Unfold the canopy: Unfold the canopy and spread it out on the ground, making sure that it is fully extended and that there are no visible twists or damage.
4. Determine support points: Determine the support points for the canopy, usually the four corners. Depending on the design of the canopy, it may be necessary to use support poles to support the center or edge sections of the canopy.
5. Set up the support rods: According to the design of the canopy, install the support rods and insert them into the reserved slots or fixing points. Ensure that the support poles firmly support the canopy and adjust their height to obtain the desired sun or rain shading effect.
6. Attach the ropes: Attach the ropes to the fixing points or rivets on the canopy and extend them to the appropriate locations. These ropes will be used to secure and stabilize the canopy to prevent it from being blown away by the wind.
7. Fixing and adjusting: Use rivets, anchors or other fixings to secure the ropes to the ground. Make sure the ropes are tight, but do not over-tension them to avoid putting undue strain on the canopy.
8. ADJUSTMENT AND INSPECTION: Adjust the support rods and ropes to keep the canopy level and tight. Check all fixing points and connecting parts to make sure they are firm and reliable.
9. Add accessories: Add accessories such as sidewalls, awnings, windscreens, etc. as needed to increase the functionality and comfort of the canopy. -
How should I store my canopy?
1. Clean and dry: Make sure the canopy is completely dry and clean before storing it. Carefully inspect the surface of the canopy for dust, stains or moisture. If cleaning is required, follow the manufacturer's recommendations for cleaning using the appropriate cleaning agents and methods.
2. Remove attachments: If there are attachments installed on the canopy, such as sidewalls, awnings, etc., remove them first. Store the accessories separately or according to their specific storage method.
3. Fold the canopy: Fold the canopy carefully, following the manufacturer's instructions or the design of the canopy. Usually, start folding the canopy from one corner and gradually fold it into a compact rectangular or round shape.
4. Gentle handling: When folding and handling the canopy, avoid using excessive force or twisting to prevent damage or distortion of the canopy. Make sure the canopy is in a dry condition and avoid contact with sharp or rough objects to prevent scratches or perforations.
5. Storage Bag or Container: Place the folded canopy into the matching storage bag. If you don't have a storage bag, you can use a dry, breathable bag or container to store the canopy. Make sure the bag or container is dry and large enough to hold the entire canopy.
6. Storage environment: Choose a dry, ventilated place to store the canopy away from direct sunlight. Avoid exposing the canopy to humidity, heat or cold to prevent mold, deformation or damage. -
Cleaning and maintenance of inflatable tents?
1. Preparation before cleaning: Before cleaning the inflatable tent, make sure that the tent is completely deflated and remove any debris and dust inside and outside.Check the tent for any damage or leaks so that it can be repaired in time.
2. Hand or machine wash: According to the manufacturer's recommendation, you can choose to hand or machine wash the inflatable tent. If you choose to machine wash, make sure you follow the washing instructions provided by the manufacturer and set the proper laundry program.
3. Use mild detergent: For tent cleaning, use mild non-bleach detergent and warm water to wash away stains and impurities. Avoid using strong chemical cleaners that may cause damage to the material of the tent.
4. Pay attention to detail cleaning: Pay special attention to the areas of the tent where stains and dirt are concentrated, such as the doorway, walls and bottom. Use a soft brush or sponge to gently scrub these areas and make sure you rinse the cleaner off thoroughly.
5. Completely dry: Make sure the inflatable tent is completely dry before storing it. Place it in a well-ventilated area away from direct sunlight. Make sure the tent is dry inside and out to prevent mold and bacteria growth.
6. Proper Storage: When storing your inflatable tent, place it in a dry, clean storage bag or container. Avoid compressing the tent or subjecting it to heavy pressure to prevent deformation or damage to its shape.
7. Regular Inspection: Regularly check the valves, joints and seams of the inflatable tent to make sure they are not loose or damaged. If any problems are found, repair or replace the parts promptly. -
Canopy cleaning and maintenance.
1. Preparation before cleaning: Before cleaning the canopy, remove it from the support rods and fixing points.
Spread out the canopy and remove dust, debris, leaves, etc. from the surface.
2. Hand or machine wash: Depending on the material of the canopy and the manufacturer's recommendations, you may choose to hand or machine wash the canopy. If you choose to machine wash, make sure you follow the washing instructions provided by the manufacturer and set the proper laundry program.
3. Use mild detergents: For canopy cleaning, using mild non-bleach detergents and warm water can effectively remove stains and dirt. Avoid using detergents containing strong acids or alkalis that may cause damage to the materials of the canopy.
4. Gentle scrubbing: Use a soft brush, sponge or soft cloth to gently scrub the surface and edges of the canopy. For stubborn stains, you can slightly increase the intensity, but be careful not to over-brush to avoid damage to the waterproof coating or material of the canopy.
5. Rinse thoroughly: after cleaning the canopy, rinse it well with water. Ensure that the cleaning agent and stains are completely removed, so as not to leave any chemicals on the canopy to produce adverse effects.
6. Dry completely: Make sure the canopy is completely dry before storing. Hang or spread it in a well-ventilated area away from direct sunlight. Ensure that the canopy is completely dry inside and out to prevent mold and mildew or odors.
7. Proper Storage: When storing the canopy, fold or roll it up and place it in a dry, clean storage bag or container. Avoid compressing the canopy or subjecting it to heavy pressure to prevent deformation or damage to its shape.
8. Regular Inspection: Regularly inspect the canopy's support rods, ropes and fixing points to make sure they are not loose, worn or corroded. If any problems are found, repair or replace parts promptly. -
Storage and maintenance of air pumps.
1. Cleaning the air pump: Before storing the air pump, make sure the surfaces are cleaned.Use a damp cloth or soft brush to gently wipe the casing and control panel to remove dust and stains. Ensure that the surfaces of the air pump are dry before storing.
2. Storage bag or box: Place the pump in an appropriately sized storage bag or box. This will protect the pump from dust, moisture and physical damage. Choose a dry, ventilated area that is out of direct sunlight to store the bag or box.
3. Avoid pressure: When storing the pump, avoid putting heavy objects on the pump to avoid deformation or damage. Make sure the air pump is stored on a flat surface to maintain its structural integrity.
4. Regular Inspection: Regularly inspect the cords, plugs and connecting parts of the air pump to make sure they are not loose, worn or damaged. If any problems are found, repair or replace parts promptly.
5. Keep dry: The air pump should be stored in a dry environment and avoid exposure to moisture or humidity. Moisture may damage the air pump's electronic components and internal mechanical parts.
6. Regular use: Try to use the air pump regularly, even during storage, with proper testing and operation. This helps to keep the pump functioning properly and prevents parts from rusting or being damaged by prolonged periods of non-use.
7. Follow manufacturer's instructions: It is best to refer to the instructions and recommendations provided by the manufacturer when storing and maintaining your air pump. Different types of air pumps may have specific requirements and precautions. -
Considerations for energy storage power supplies.
1. Charging and discharging: Use appropriate charging equipment and methods to charge the energy storage power supply. Avoid overcharging or overdischarging as this may affect the performance and life of the battery. It is best to use the charger and charging method recommended by the manufacturer.
2. Temperature control: Energy storage power supplies are sensitive to temperature. Avoid using or storing batteries in extreme high or low temperatures as this may cause degradation or damage to the battery. If the battery operates at extreme temperatures, the battery capacity may be reduced or may not work properly.
3. Prevent over-discharge: The energy storage power supply should avoid over-discharge, especially for a long time. Over-discharge may cause the battery to fail or not be recharged. If the battery is not used for a long period of time, make sure that the battery is in a proper state of charge.
4. Avoid short-circuiting: Avoid short-circuiting the battery, as short-circuiting may cause the battery to overheat, damage or even cause a fire. Use appropriate protection such as properly connecting the battery terminals and avoiding metal objects touching the positive and negative battery terminals.
5. Use original accessories and equipment: Use original chargers and other equipment that are compatible with the energy storage power supply. Use of unsuitable chargers or equipment may lead to overcharging, over-discharging or other potential problems.
6. Regular inspection and maintenance: Regularly check the appearance, connection and working condition of the energy storage power supply. If you find any abnormalities, such as deformation, leakage, abnormal heat, etc., stop using it immediately and consult a professional.
7. Reasonable use and storage: Use and store the energy storage power supply reasonably according to the manufacturer's instructions. Follow the recommendations on battery capacity, cycle life and storage requirements.
8. RECYCLING AND DISPOSAL: At the end of the battery life or when the battery is no longer usable, the battery should be properly recycled and disposed of in accordance with local regulations. Do not dispose of the battery or throw it into a fire. -
HOW DO I PLACE AN ORDER?
1.Visit us at peirhwoutdoor.com, and find the item you'd like to order.
2.Click on the item, and then you'll arrive at it's product page.
3.Select the color and size you'd like via the drop-down menu.
4.Click on the 'Add to Cart' button.
5.Simply repeat steps 1-4 above until you've added everything you want to order to your virtual cart.
6.Click on 'Place Order'.
7.Follow the instructions to enter your shipping address, and then your payment details. Do make sure you follow through the whole process by clicking on "Pay now" or "Complete Order" before you close the website. If your order is successful, you will see a page with your Order number. -
After-sales and warranty.
We offer a 1-year warranty.
You will receive textual instructions accompanying the product, such as instruction manuals, finished assembly diagrams, instructions on how to store it, and precautions.
In addition, we will also include the after-sales warranty book with the shipment. If you have any questions or need after-sales service, you can contact us by e-mail or by clicking on the communication links on our website. -
Return & Exchange Request
We offer a 30-day return period after receipt of the item, and require that the returned product be in good condition and that all accessories be sent back with it.
If you decide to return an item, please contact us via email and we will provide you with the details required for your return.
For long distance returns, you may be responsible for shipping costs.
Once we have confirmed that the item you are returning is eligible for a refund, we will process the refund according to the original method of payment.
Please check our refund policy for any additional questions.


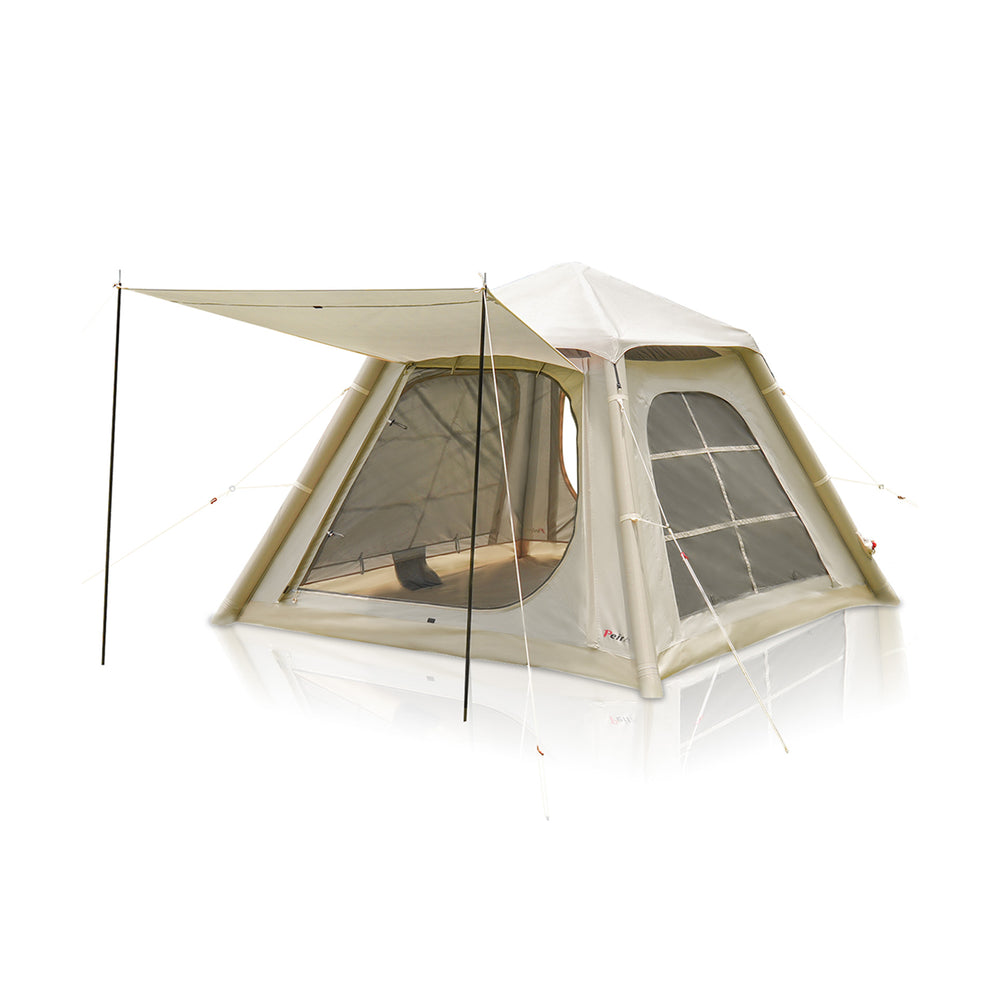
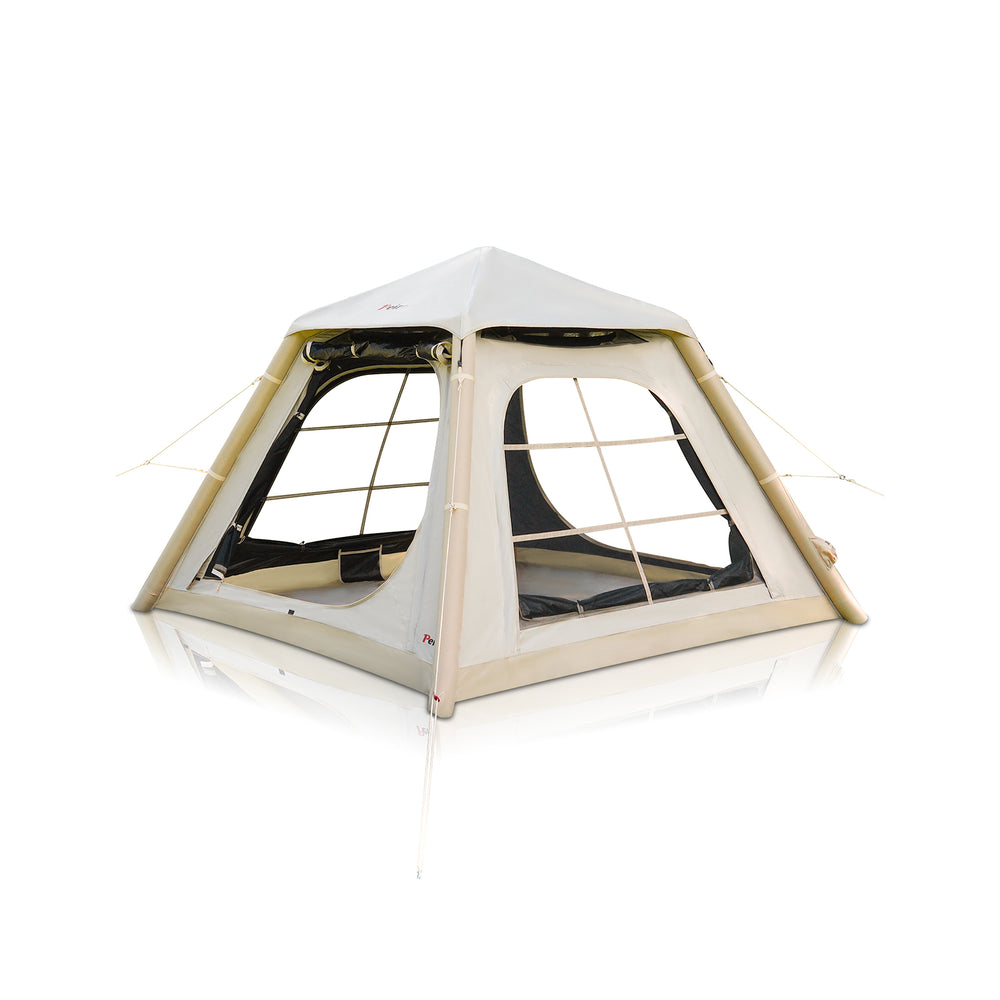
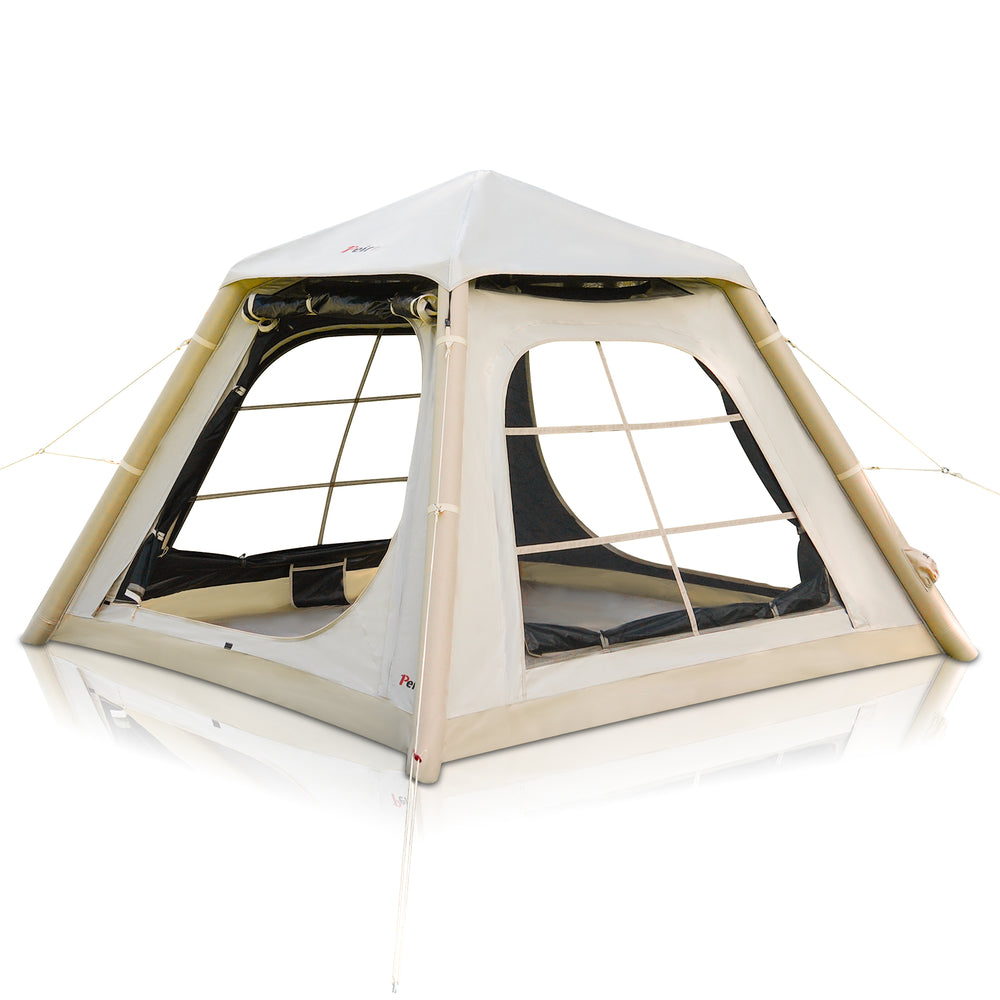
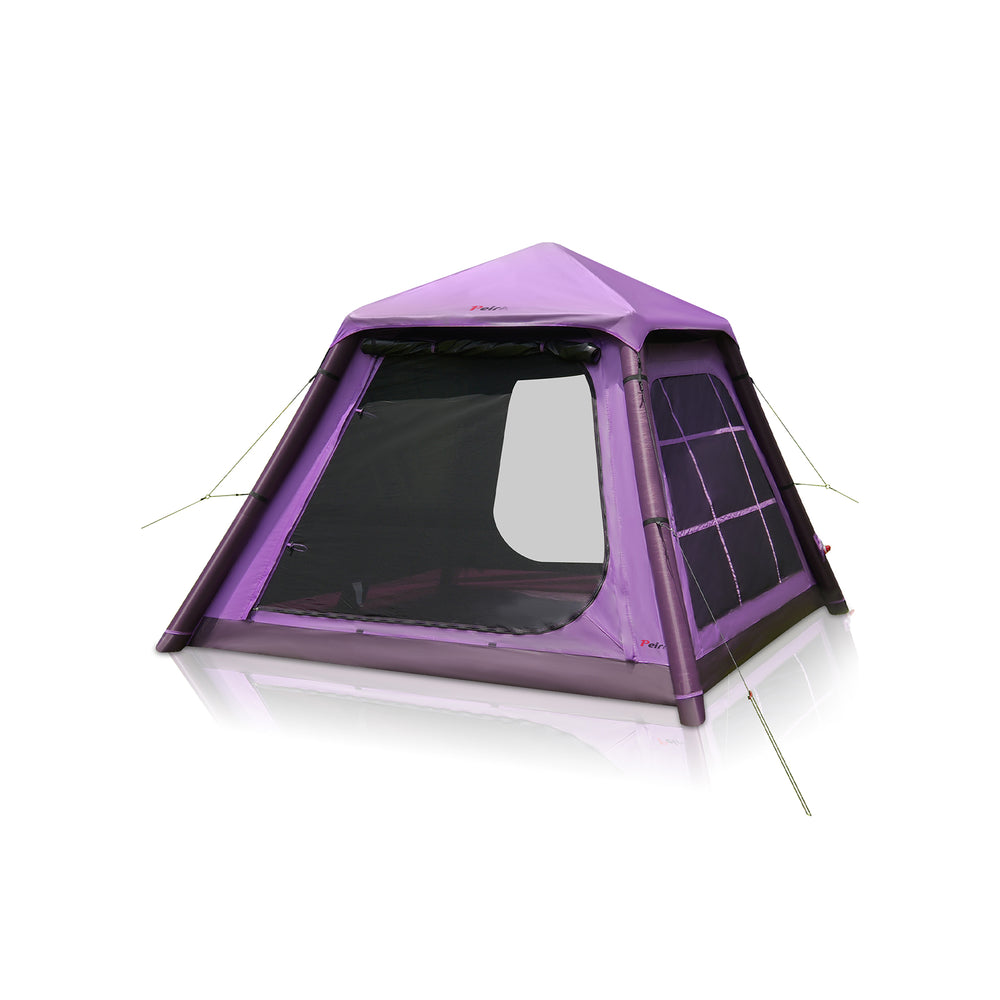


 Peirhw Inflatable House Tent - Starry Night Love
 Peirhw Glamping Tents - Friendship Castle
 Peirhw Inflatable Canopy Tent - Adventurer

 Peirhw Portable Air Conditioner
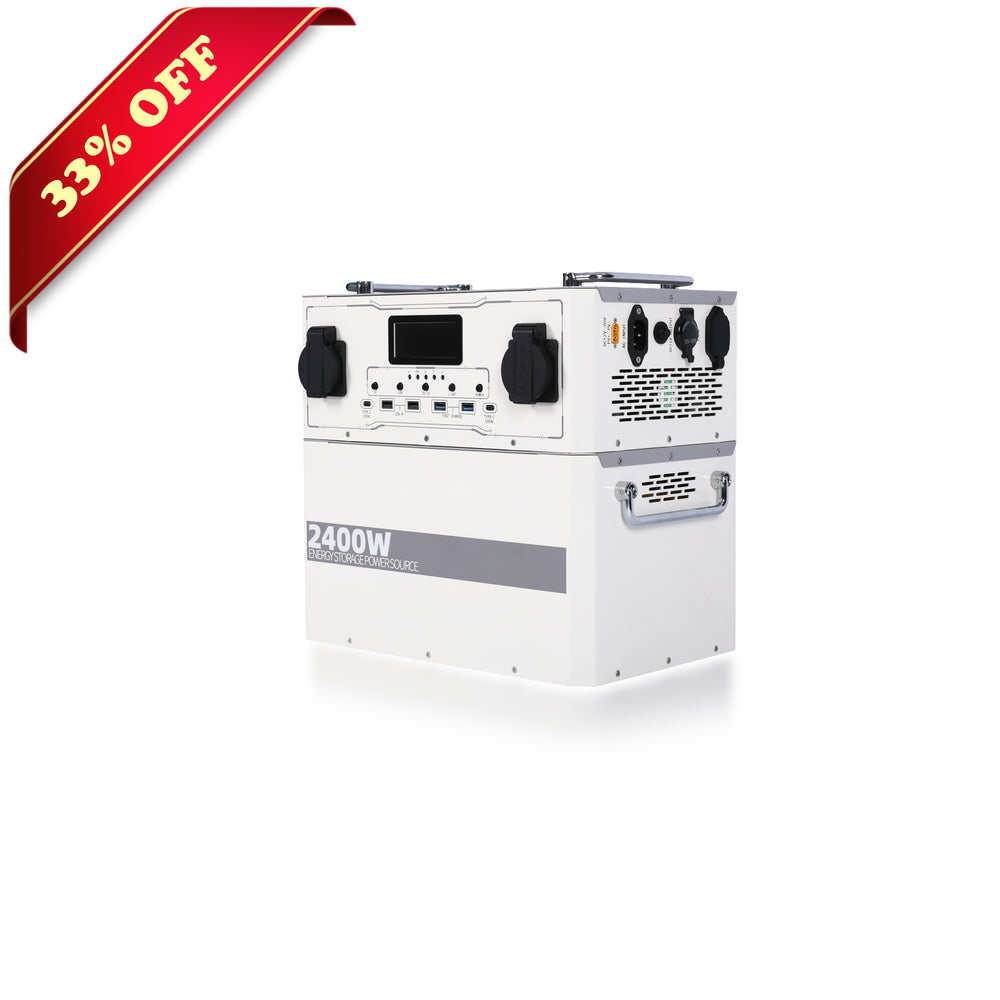
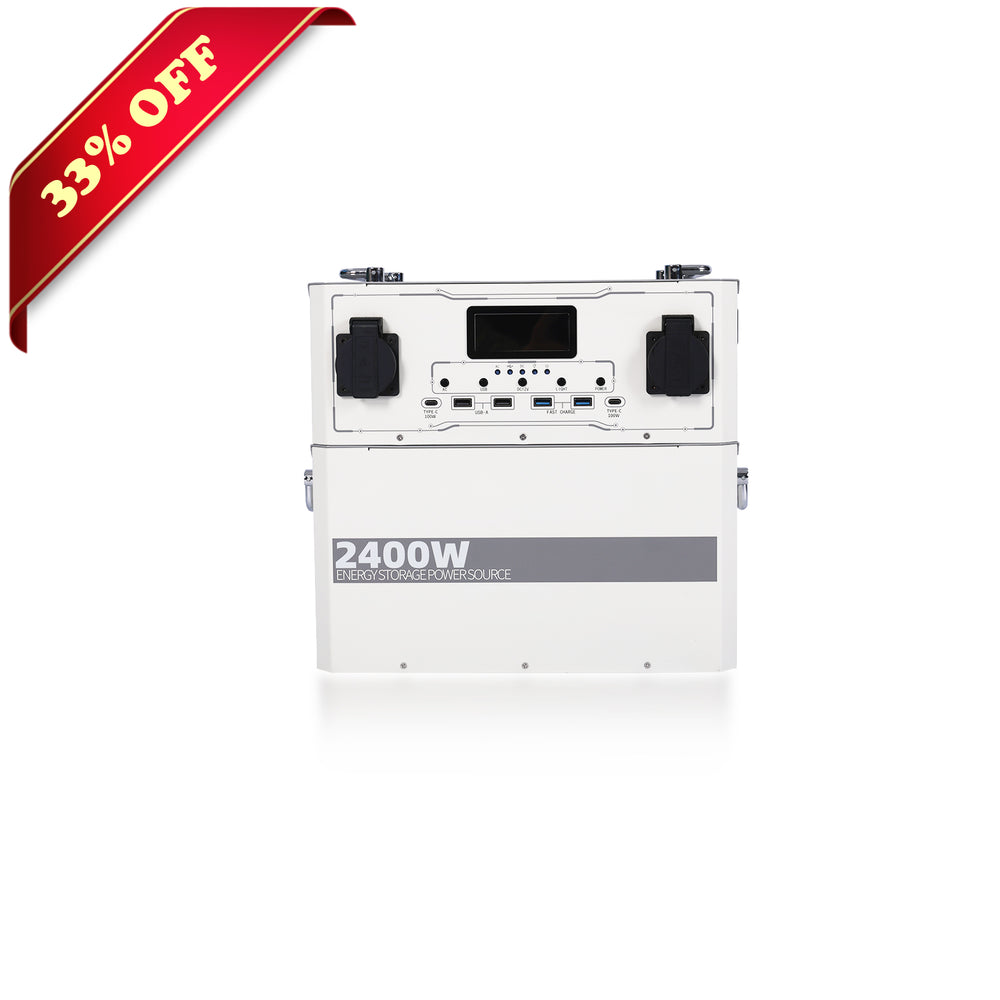 【Advance Sale】Peirhw Portable Power Station 2400W
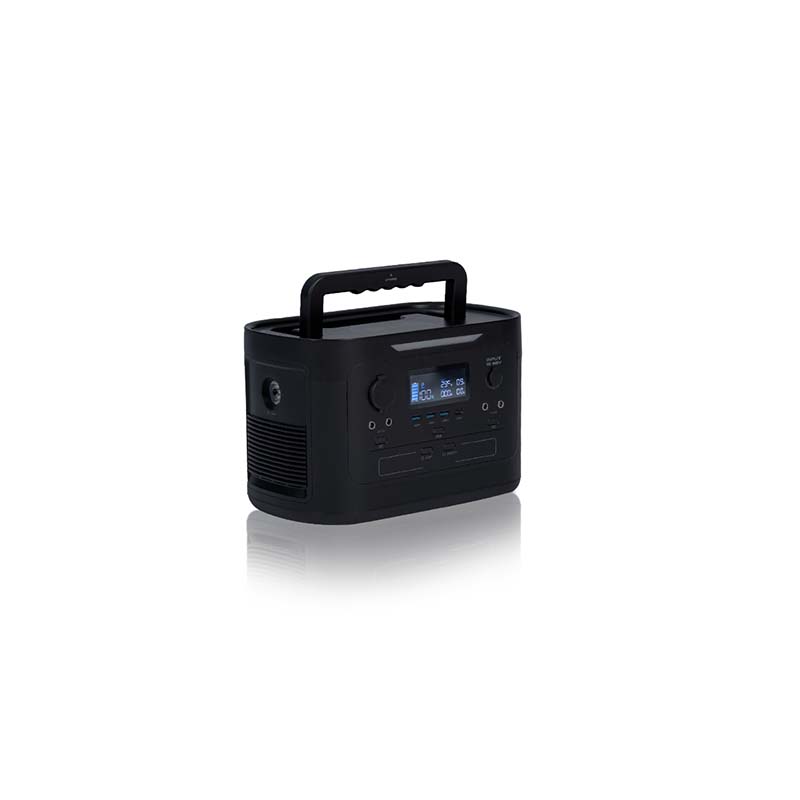
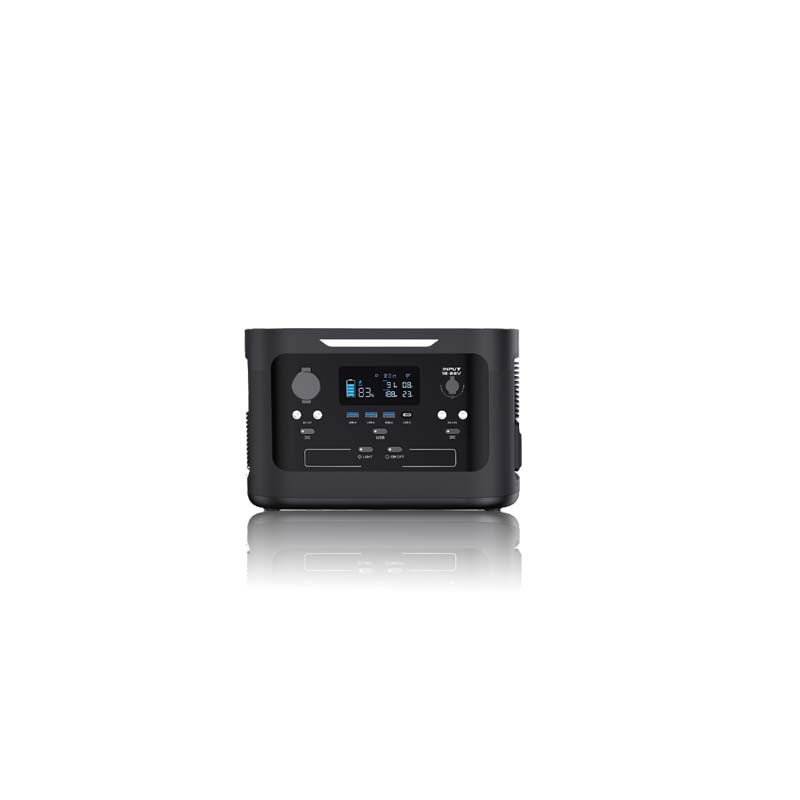 【Advance Sale】Peirhw Portable Power Station 600W

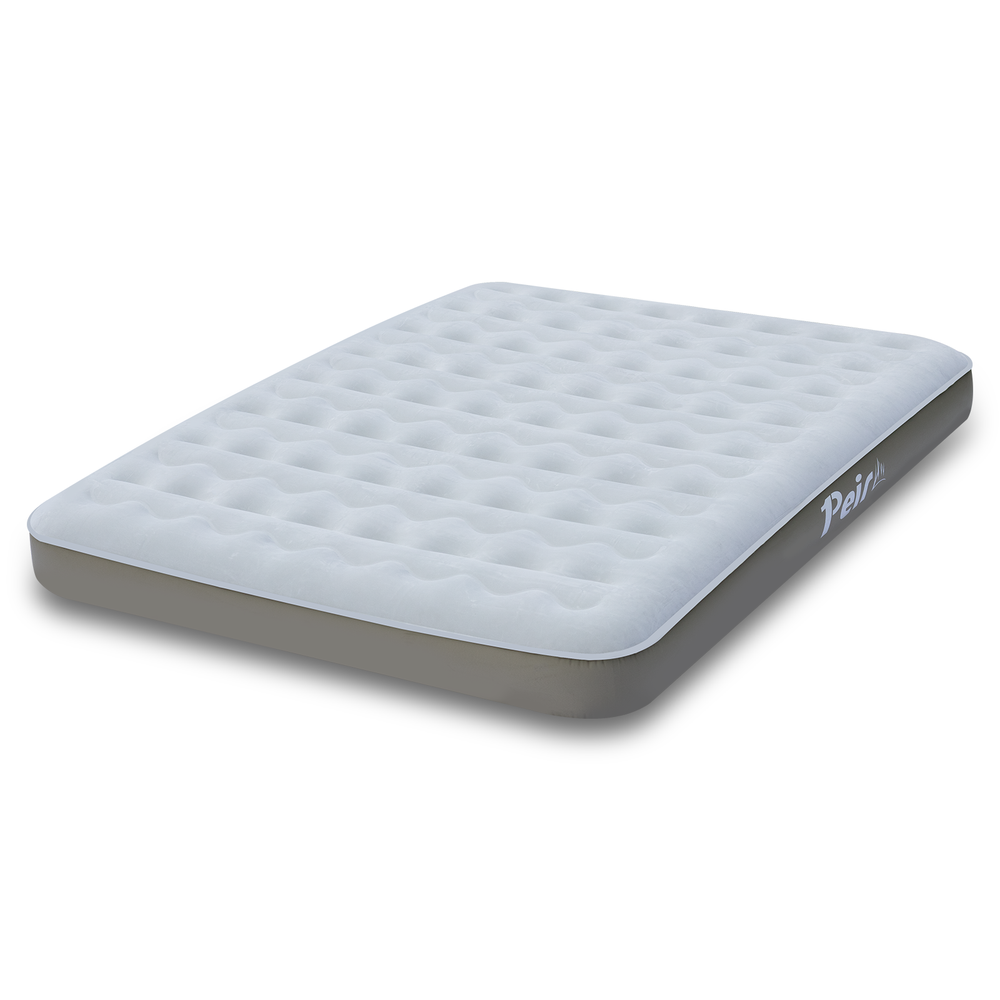


 Peirhw Self Inflating Sleeping Pad
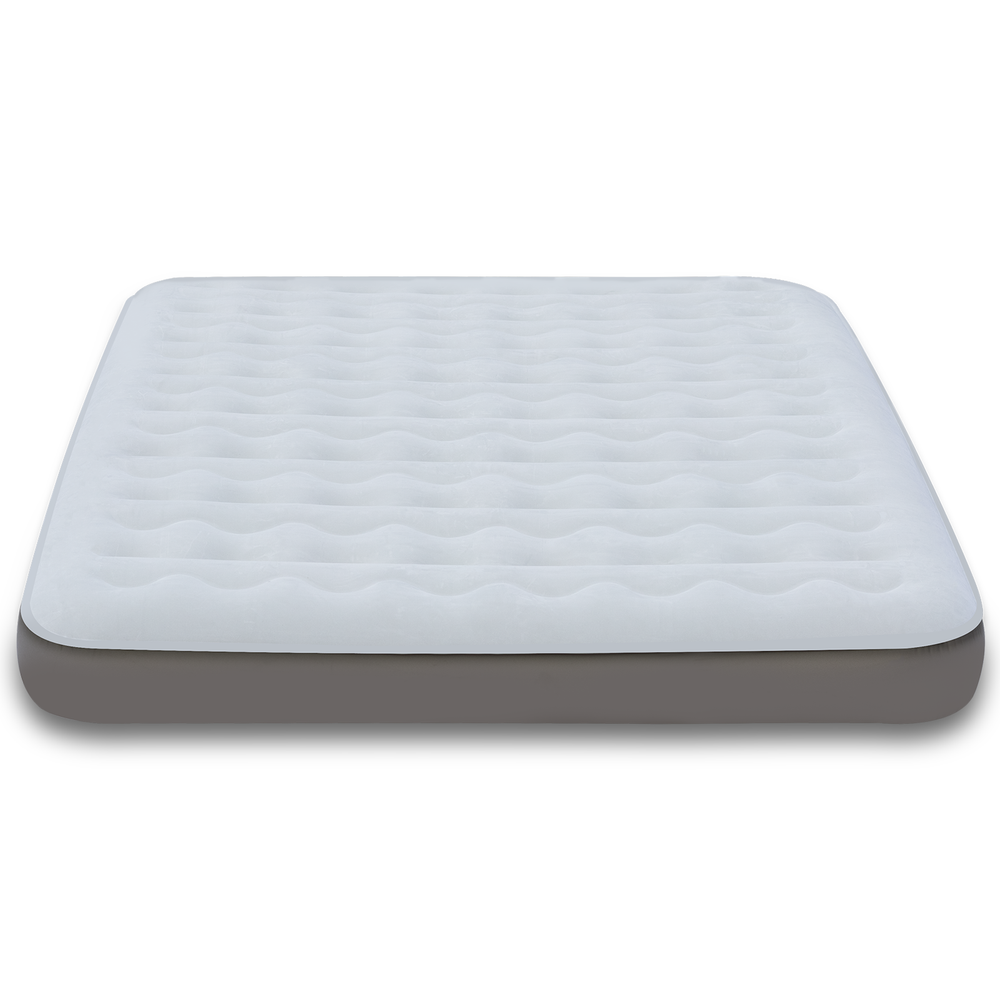 Peirhw Air Mattress (8" Queen Type)
 Peirhw Camping Sleeping Bag


 Peirhw Butterfly-shaped Canopy for Camping
 Peirhw Camping Waterproof Canopy (Cannot be Purchased Separately)

 Peirhw Outdoor Folding Chairs
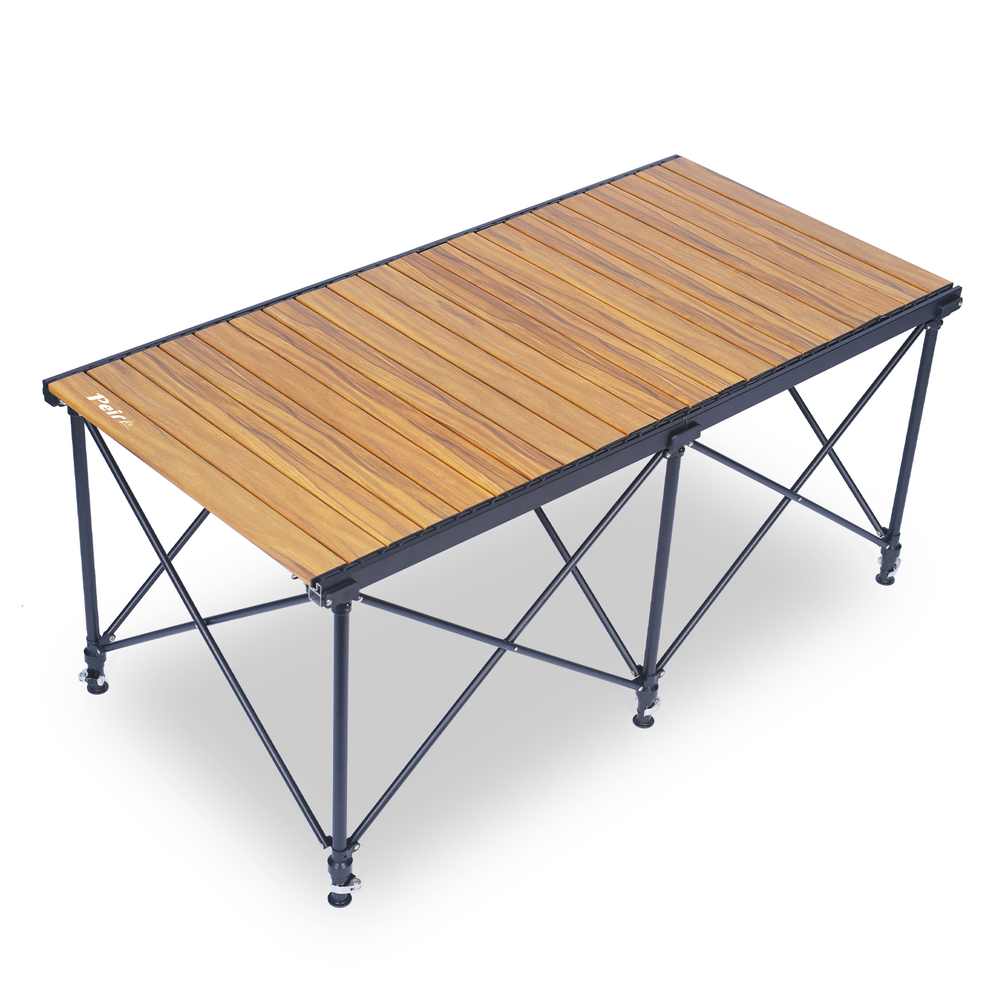
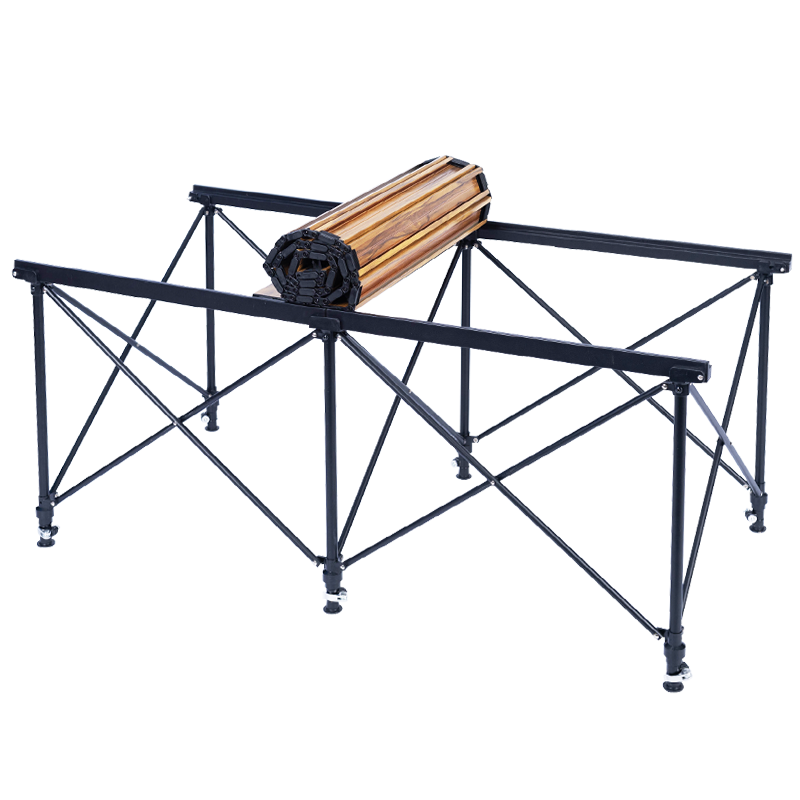 Peirhw Folding Camping Table
